
A Newbie-Pleasant Information to Making Flying Geese Items: Two Methods You’ll Love!
Flying geese blocks are a staple in quilting, and when you discover ways to make them, you’ll discover they’re extremely versatile and delightful in so many designs! Whether or not you’re a brand-new quilter or simply searching for a means so as to add some enjoyable to your initiatives, I’ve bought you coated with two straightforward strategies to make these traditional blocks. Plus, I’ve created a free downloadable Flying Geese Chart with reducing directions for numerous sizes of Flying Geese, so that you’ll by no means be guessing your measurements once more!
In my video tutorial, I present you the best way to create Flying Geese in two methods:
- One by one – the standard technique, the place you make one Flying Geese unit per block.
- 4 at a time – a sooner technique that’s nice for creating a number of items directly.
Let’s dive into the steps and get you making stunning Flying Geese with ease!
Watch the Simple Flying Geese Video tutorial right here!
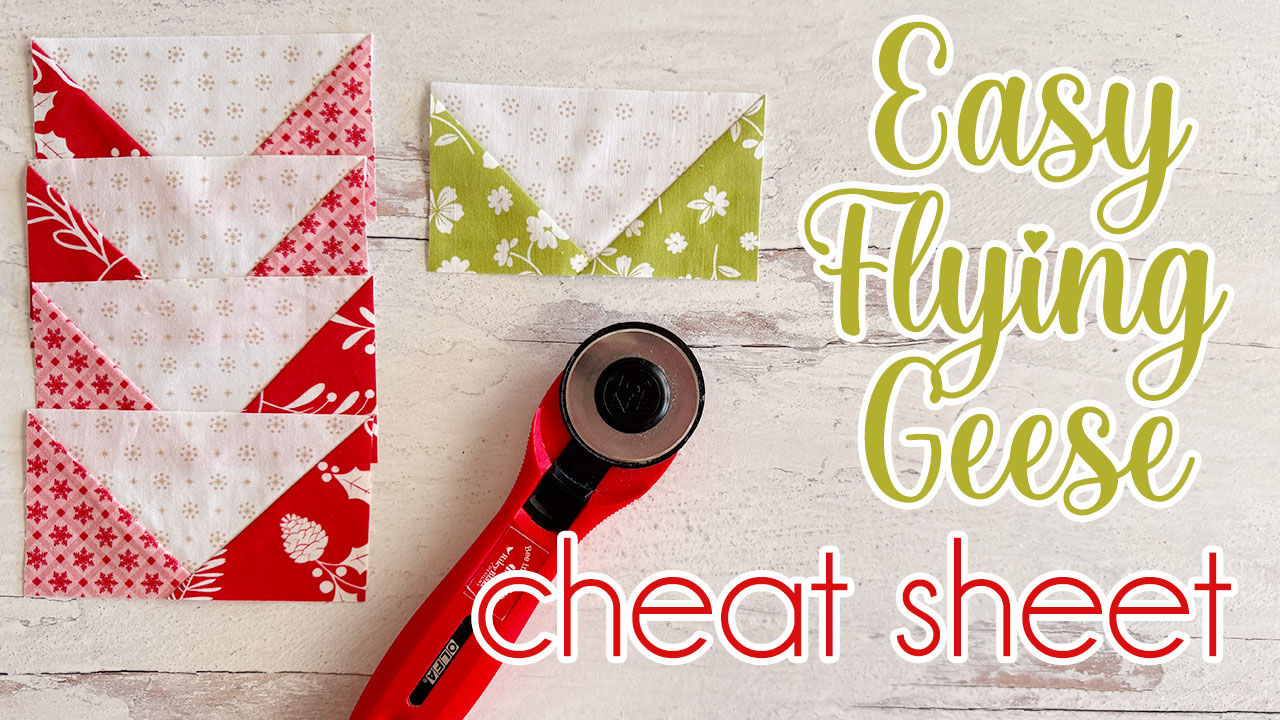
What’s a Flying Geese Block?
Earlier than we soar into the tutorial, let’s rapidly evaluation what a Flying Geese block is. The block consists of 1 giant triangle within the middle, flanked by two smaller triangles on both sides, resembling a flying fowl (therefore the title!). The block can be utilized in numerous quilt designs, and it’s a good way to follow your piecing expertise.
Methodology 1: Making One Flying Geese Unit at a Time
That is the traditional, tried-and-true technique for making a Flying Geese unit. Whereas it takes a bit longer, it’s an ideal method for newcomers, because it permits you to concentrate on making one unit at a time. Right here’s the way you do it:
Supplies:
- 1 giant rectangle (this would be the middle of your Flying Geese block)
- 2 smaller squares (for the highest triangles of the Flying Geese)
Steps:
- Lower your material: Use the reducing chart I’ve supplied within the free obtain for correct measurements.
- Draw a diagonal line: On the again of your two smaller squares, draw a diagonal line from one nook to the alternative nook.
- Place the squares: Place one of many squares proper sides along with the big rectangle, aligning one nook with the highest fringe of the rectangle. The drawn diagonal line ought to be dealing with up.
- Sew alongside the diagonal: Sew immediately alongside the diagonal line.
- Trim and press: Trim the surplus material, leaving a 1/4-inch seam allowance, then press the material open.
- Repeat with the second sq.: Place the second sq. on the alternative finish of the big rectangle, and repeat the stitching and urgent steps.
- Remaining press: As soon as each triangles are connected, press and trim your Flying Geese block.
Methodology 2: Making 4 Flying Geese Items at a Time
Should you’re trying to make a number of Flying Geese blocks in much less time, this technique is for you! It’s a enjoyable, environment friendly method the place you create 4 Flying Geese items from simply two items of cloth. Right here’s the way you do it:
Supplies:
- 1 giant rectangle (this would be the middle of your Flying Geese block)
- 4 smaller squares (for the triangles)
Steps:
- Lower your material: Check with the free downloadable chart for correct measurements.
- Draw diagonal strains: Draw a diagonal line on the again of every small sq.. These strains will information your stitching.
- Organize the squares: Place two of the smaller squares on reverse corners of the big rectangle, proper sides collectively so the strains join. It is best to have two squares on the high corners and two on the backside.
- Sew alongside the diagonal: Sew 1/4-inch seams on either side of every diagonal line.
- Lower aside and press: Lower alongside the diagonal strains, creating two triangles from every sq.. Press the triangles open.
- Sew once more: Now, place the remaining two squares on the opposite ends of the big rectangle, and repeat the stitching and trimming steps.
- Press once more: Press all seams to complete your 4 Flying Geese blocks directly!
Why Use These Strategies?
- Accuracy: Each strategies make sure you get exact Flying Geese blocks, which is vital to a refined quilt.
- Time-Saving: Should you want a number of Flying Geese blocks, the “4 at a time” technique is a big time-saver!
- Flexibility: Whether or not you like working one unit at a time or wish to rapidly make a number of items, you possibly can select the tactic that works greatest to your venture and talent stage.
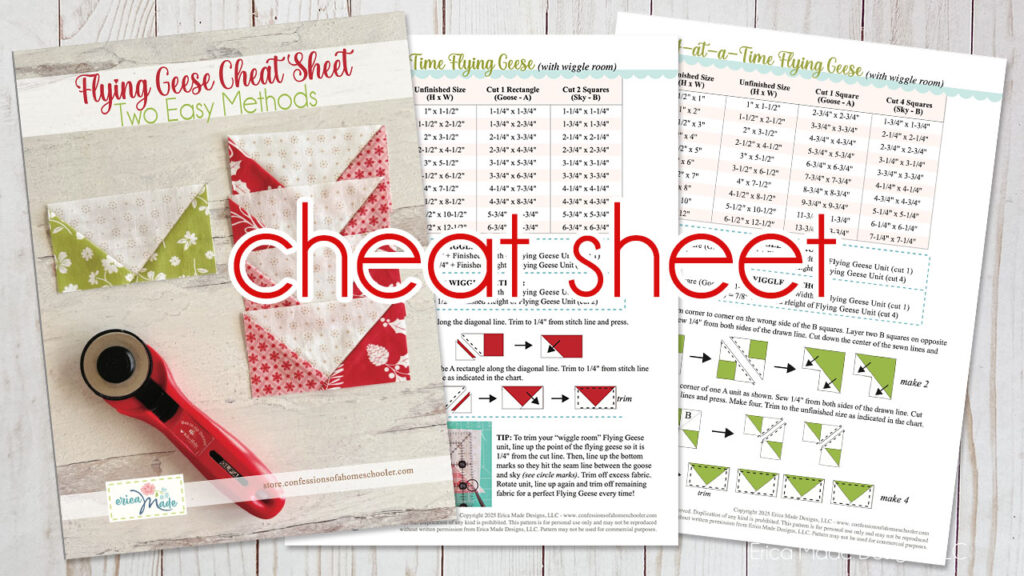
Free Downloadable Reducing Chart
To make your life simpler, I’ve created a free downloadable Flying Geese Chart that features reducing directions for numerous sizes of Flying Geese items. Merely obtain it and print it out for helpful reference when you work by means of these strategies!
Remaining Ideas
Flying Geese are a unbelievable beginner-friendly block that can elevate your quilting expertise very quickly. Whether or not you’re making one unit at a time or crafting a number of directly, you’ll be amazed at how rapidly you possibly can create these stunning blocks.
Make sure to try the video tutorial for a visible information. I can’t wait to see your whole stunning Flying Geese creations!
Pleased quilting! ✂️✨


