Leaf Lantern Craft for Fall
Spark your baby’s creativity with a nature-inspired craft. This straightforward, hands-on venture will enable your baby to attach with nature as they discover the outside and create a lovely, glowing lantern. Observe the straightforward directions under!

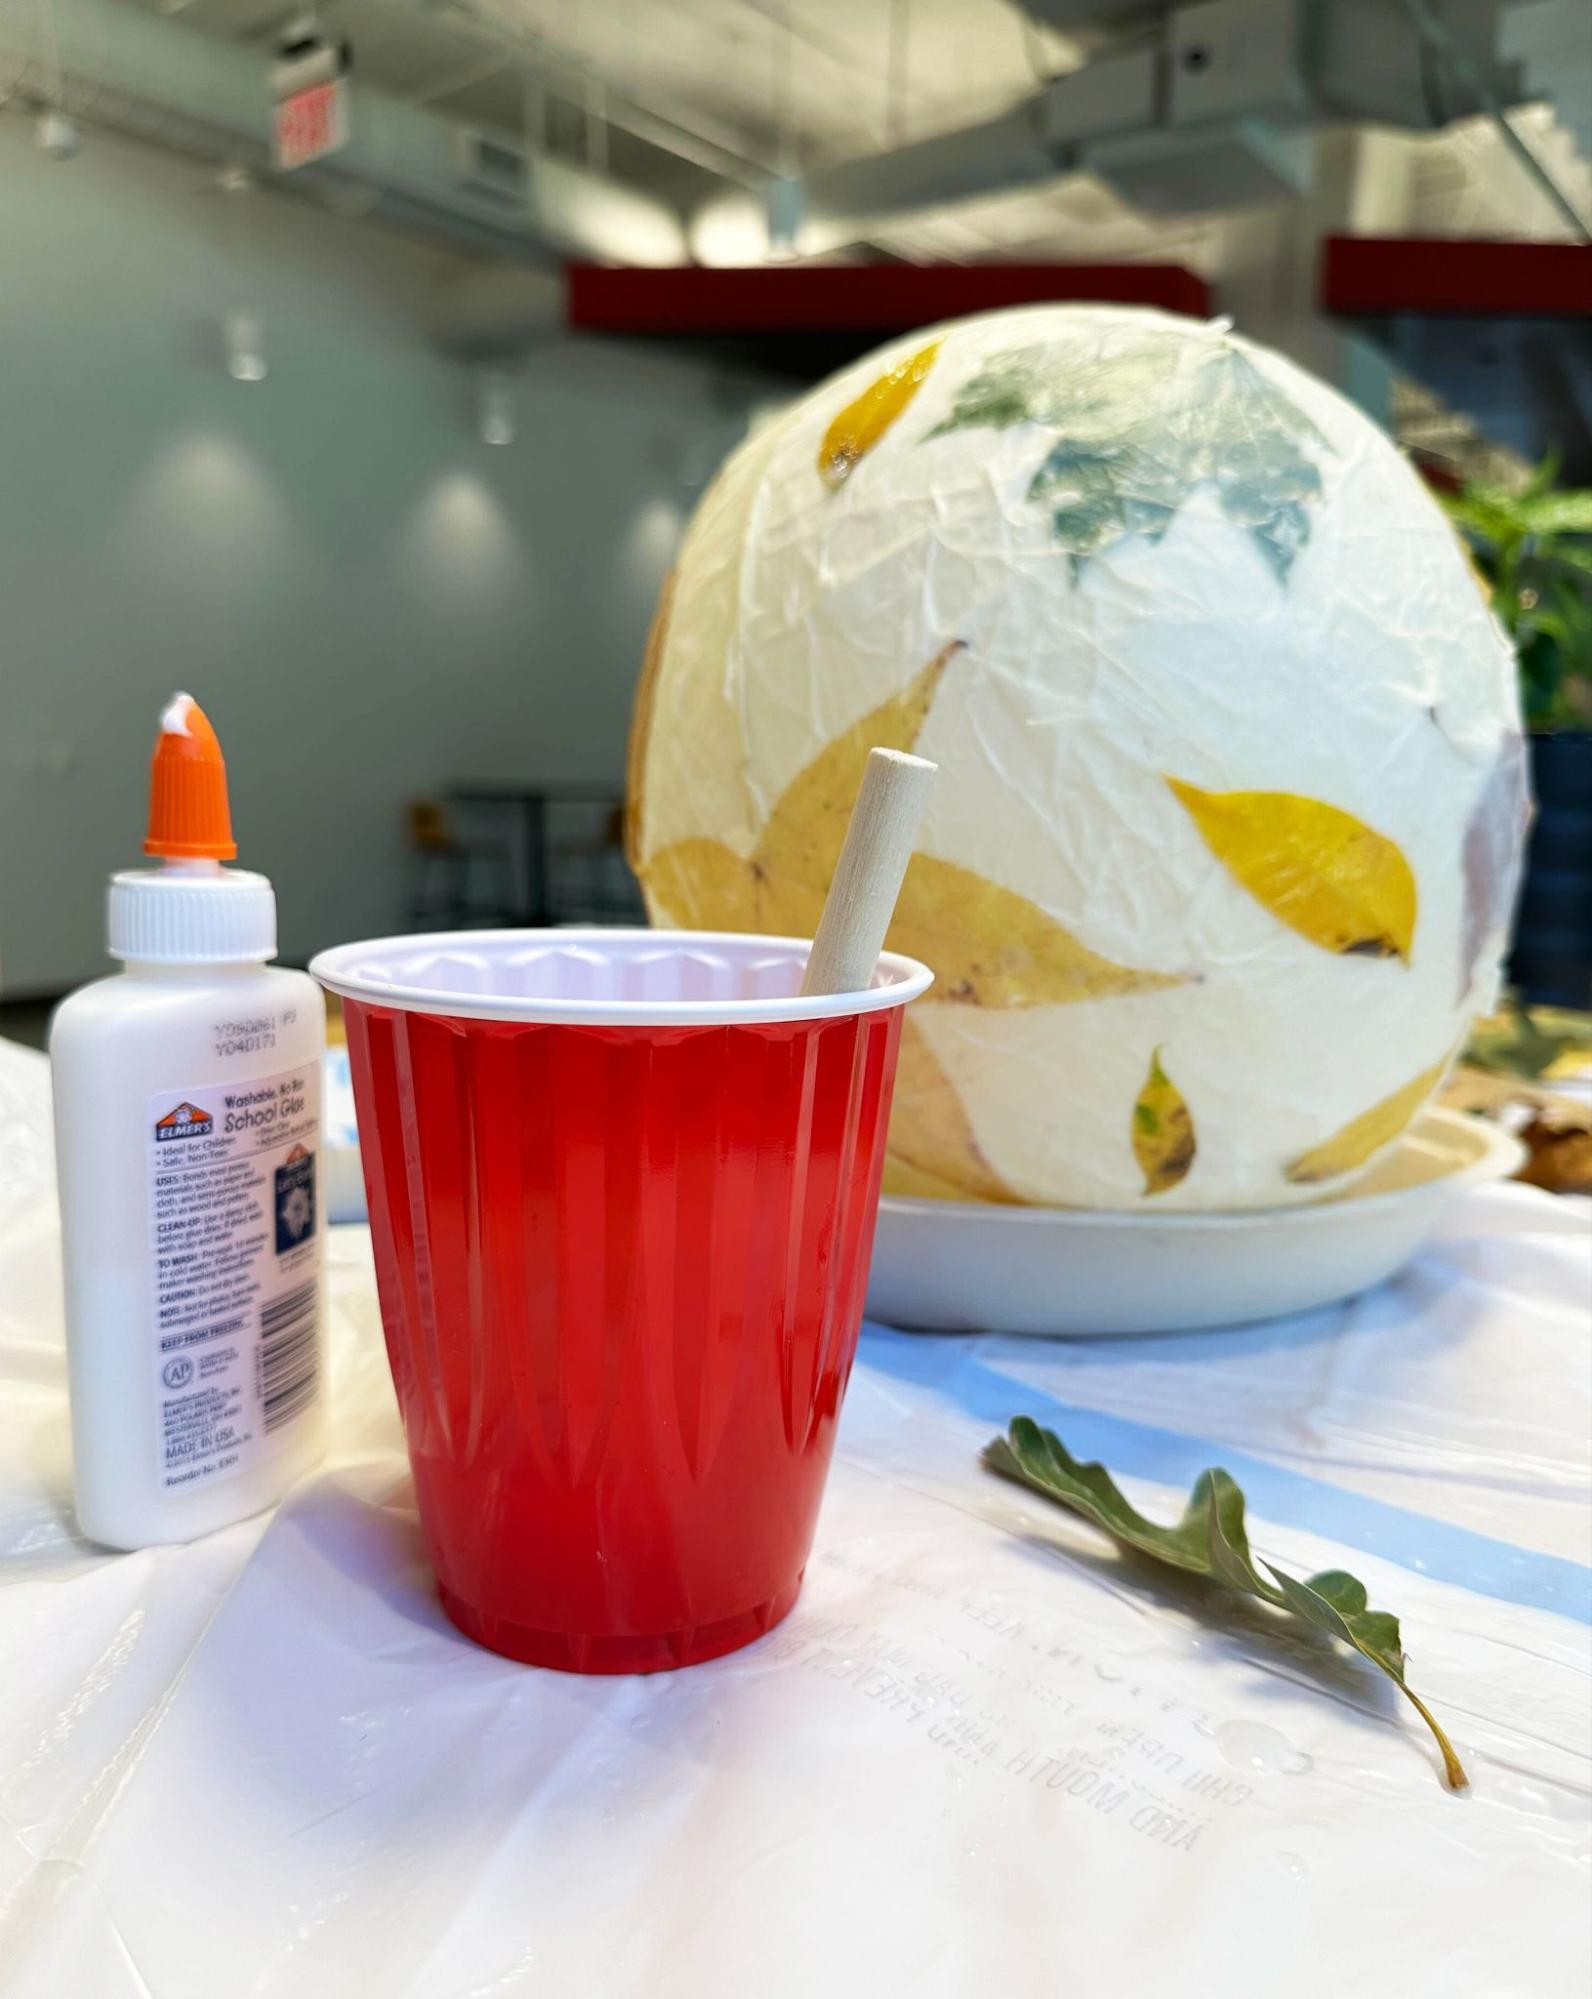
Supplies:
☐ Mild-colored tissue paper (white, tan, pastel yellow)
☐ Elmer’s Glue-All
☐ Water
☐ 1 regular-sized balloon per lantern
☐ 2-inch paintbrush
☐ Container (takeout container or Tupperware)
☐ 1 flameless tea mild per lantern
☐ 8-10 leaves
☐ String (non-compulsory)
☐Gap puncher (non-compulsory)
Directions:
Step 1:
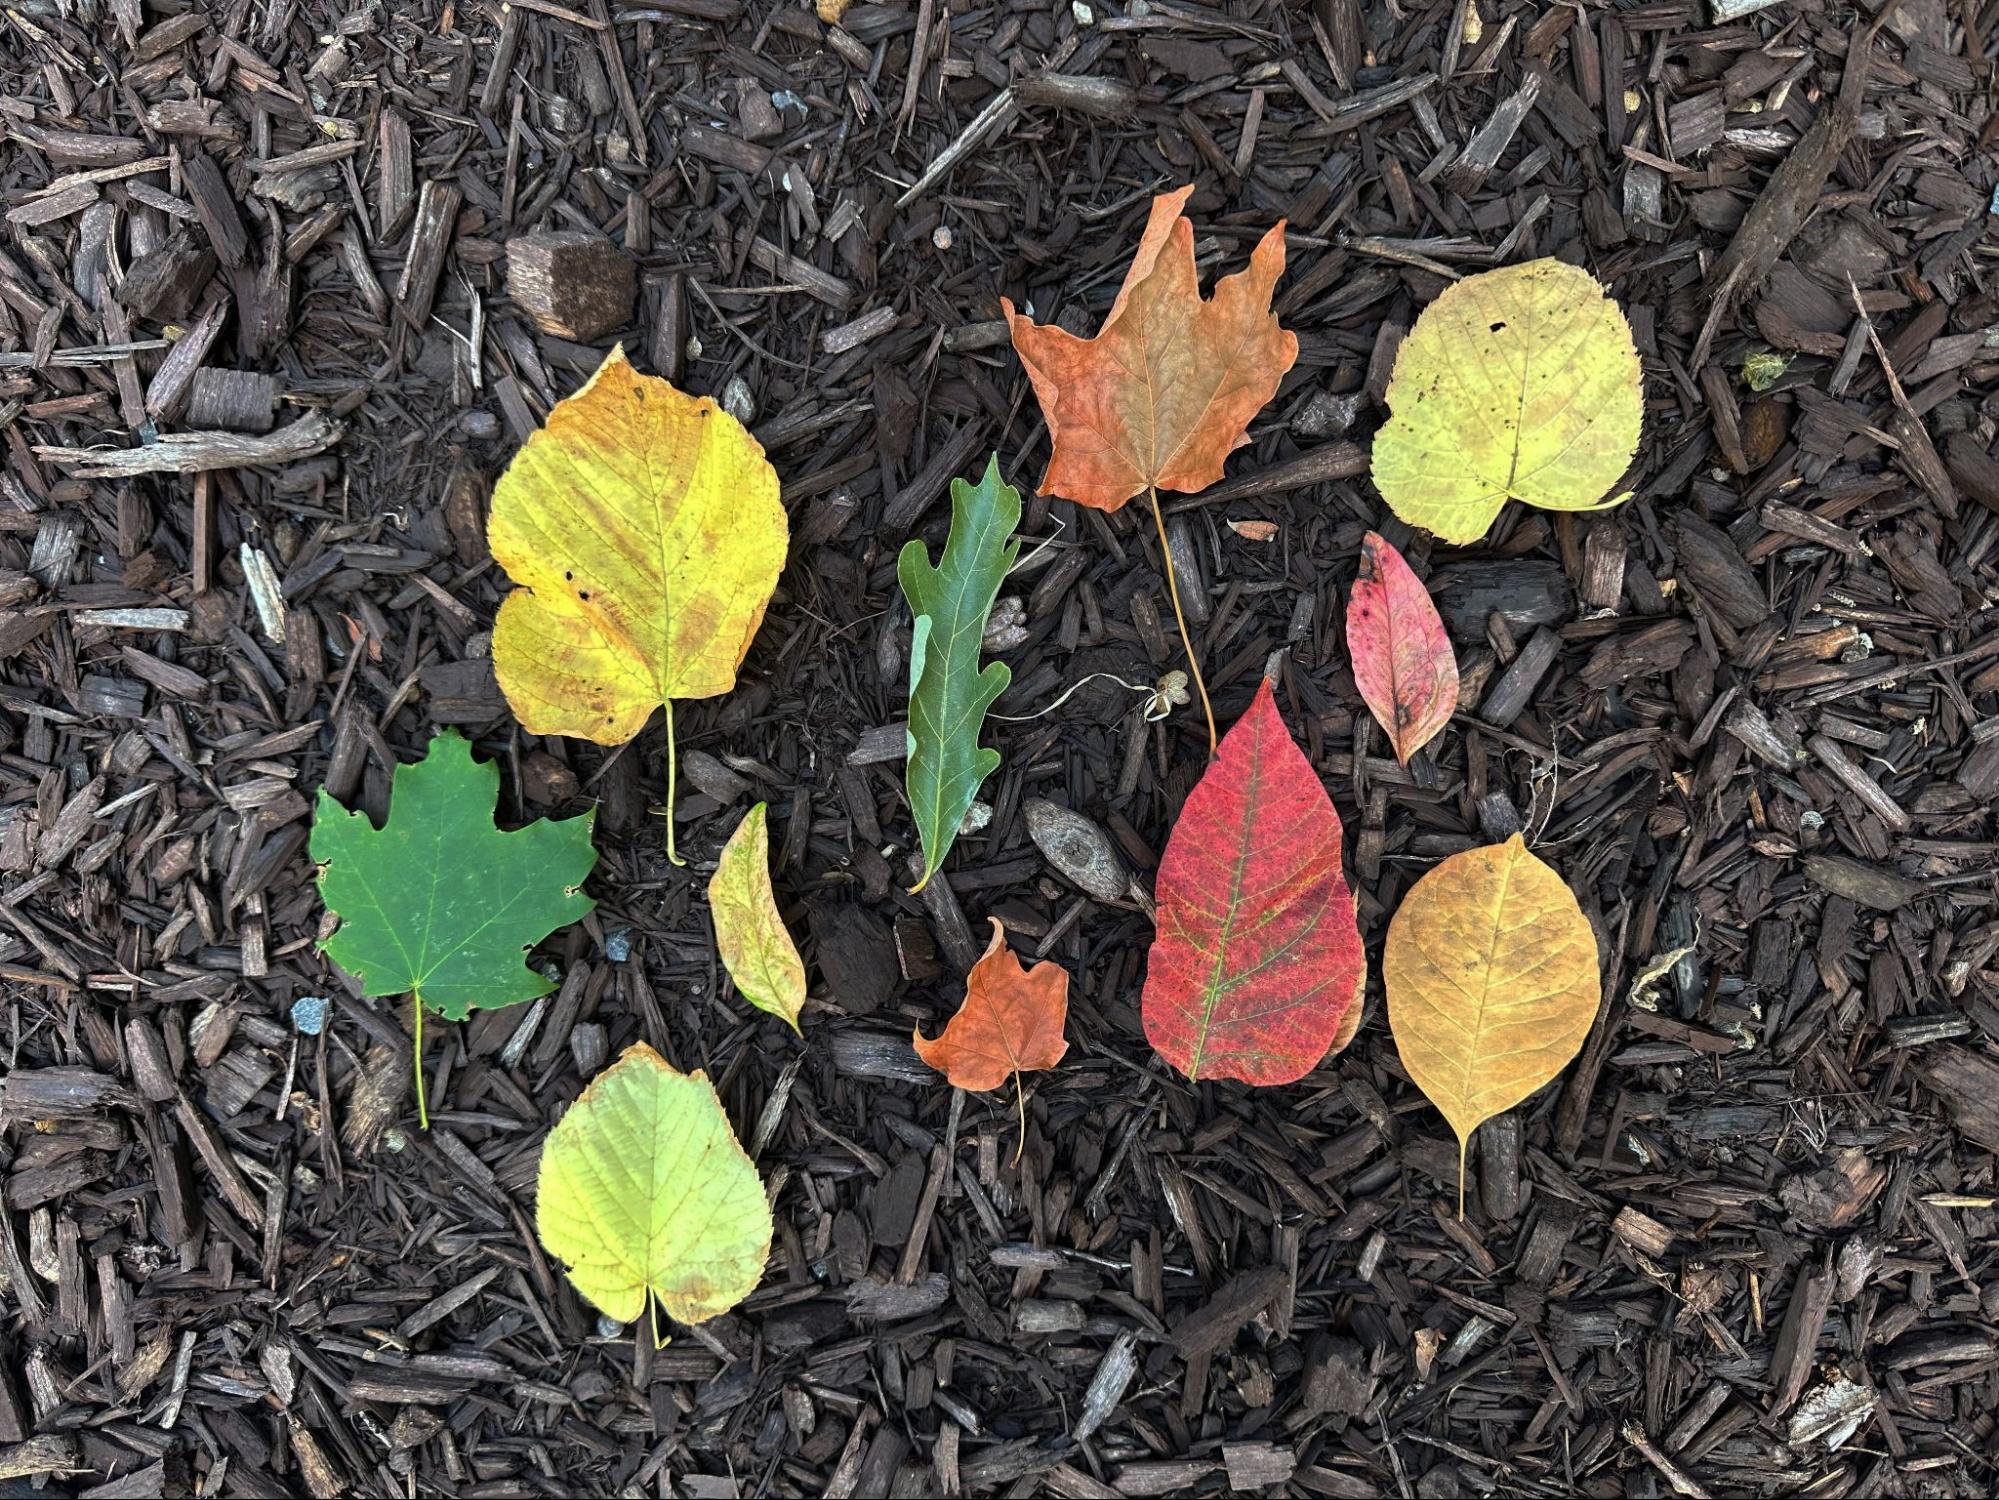
Head exterior along with your baby and acquire 8-10 leaves of various colours, shapes, and sizes. These will probably be used to create a lovely sample in your lantern!
Step 2:
Put together your lantern-making station. You have to one thing to cowl your workspace, like a trash bag or sheet. Collect a container, balloon, paintbrush, tissue paper, glue, and a bowl of water. Combine half of the bottle of Elmer’s Glue-All right into a bowl with equal components water; this will probably be your glue combination!
Step 3:
Minimize your tissue paper into massive, sq. items. Your balloon measurement (we advocate an everyday measurement) will decide how massive your sq. items must be, however the bigger the squares, the higher.
Step 4:
Blow up your balloon and stand it upright in your Tupperware or container. Dip a bit of tissue paper into the water and place it on the balloon, leaving sufficient area across the balloon tie in your flameless tea mild. Repeat till the balloon is evenly lined in a layer of tissue paper. Utilizing solely water for the primary layer permits the balloon to peel away from the paper simply.
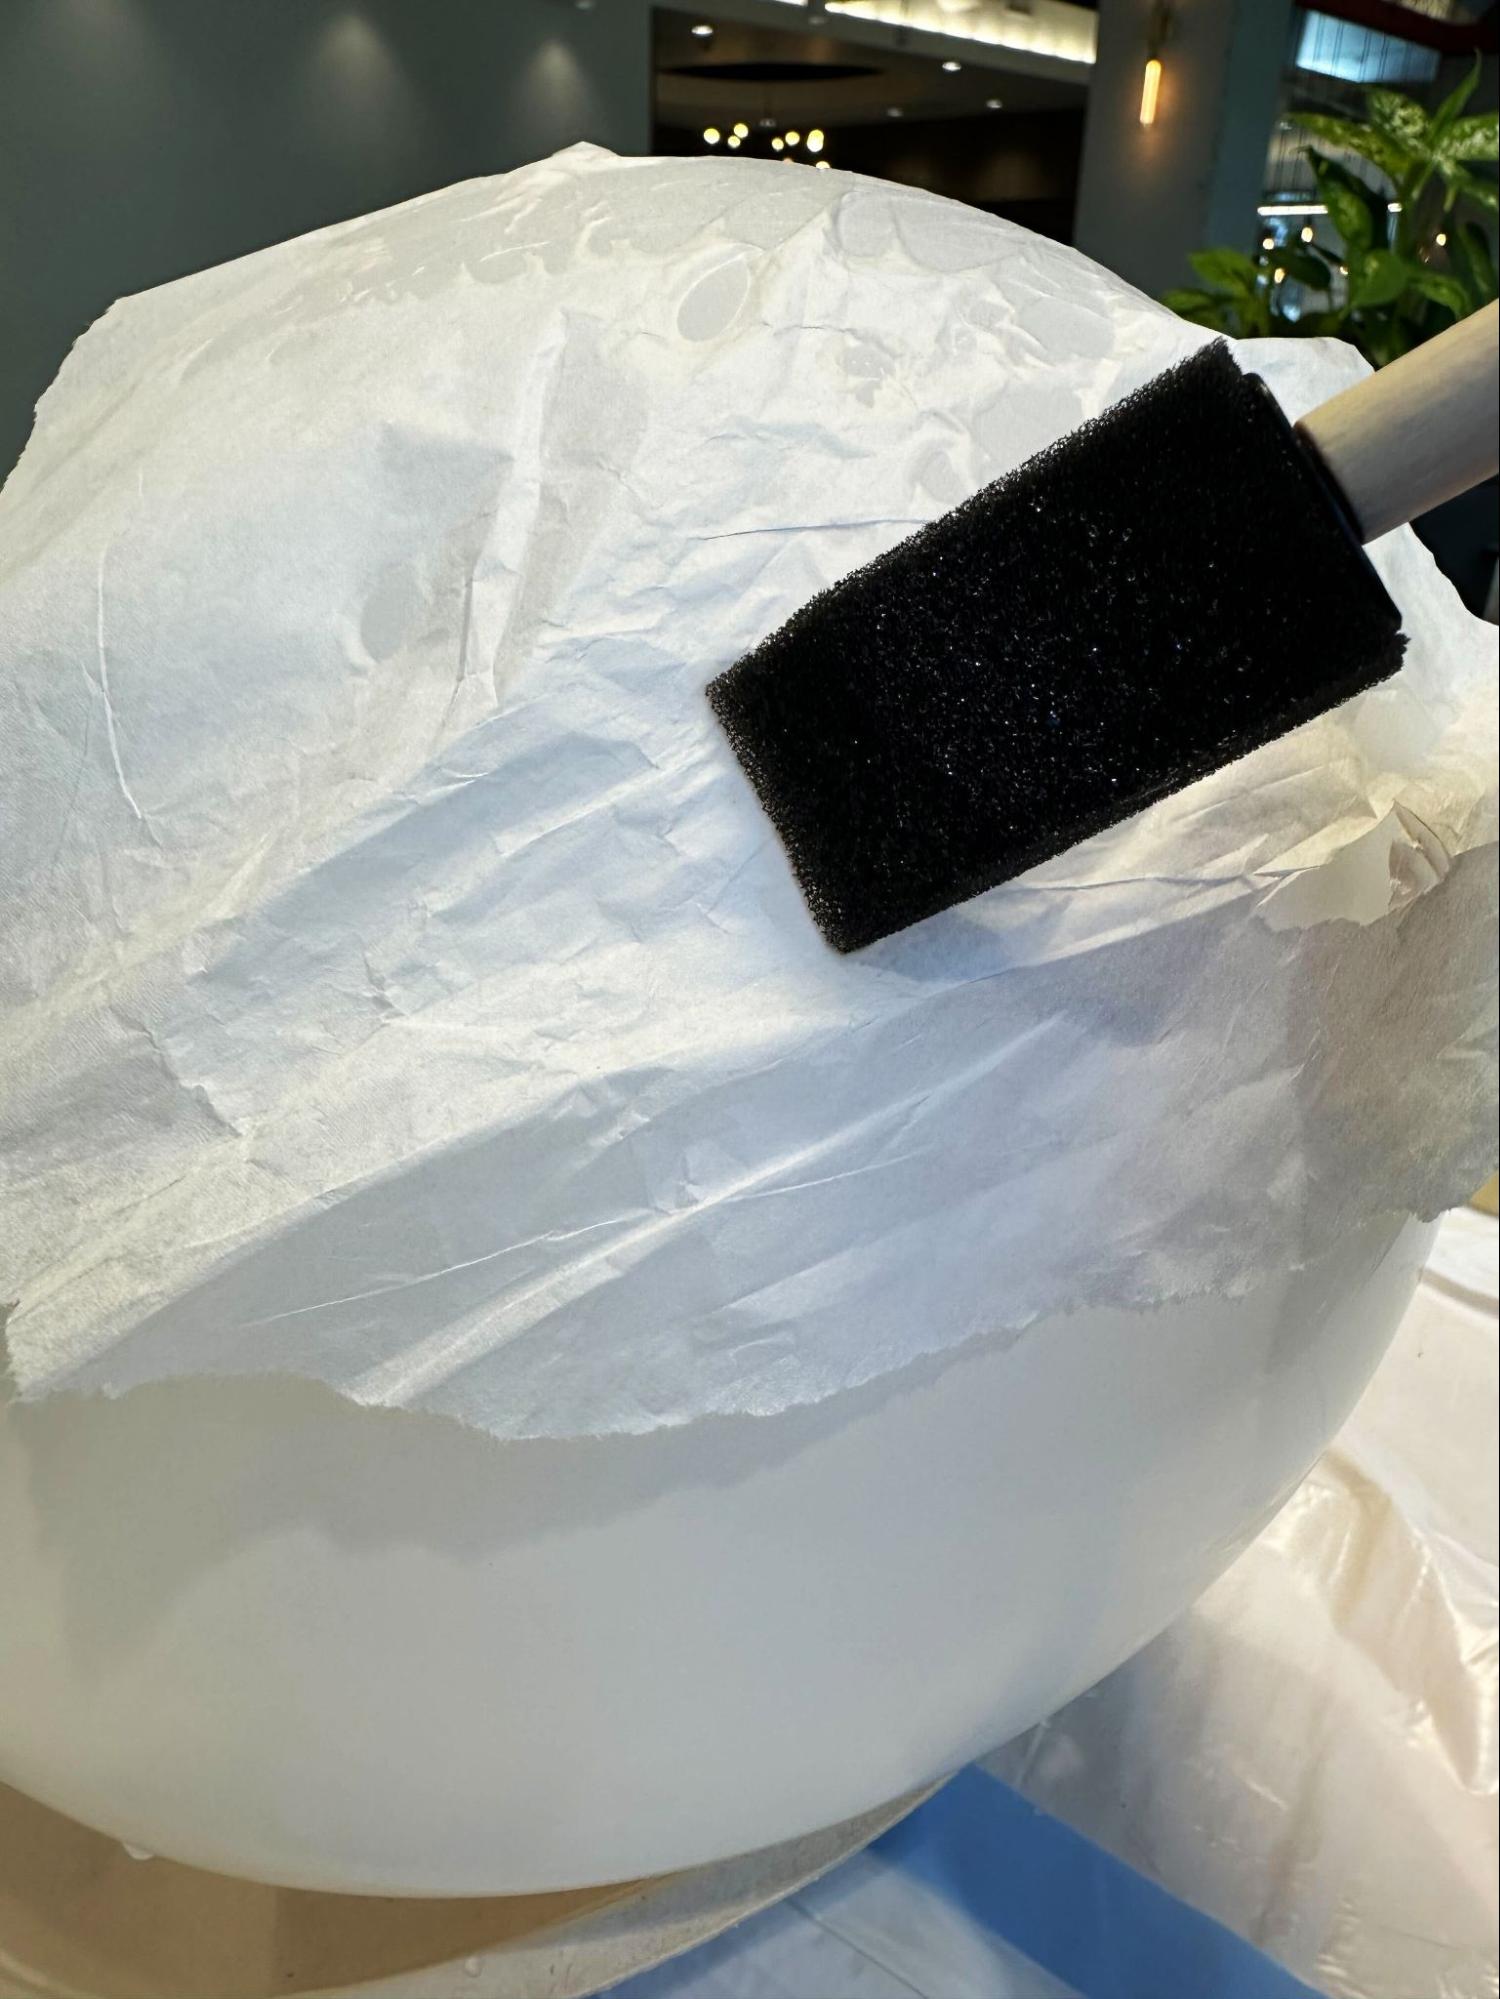
Step 5:
Subsequent, with the paintbrush, paint your glue combination onto a bit of the balloon and add a layer of tissue on prime, repeating till the balloon is roofed with two layers of tissue.
Step 6:
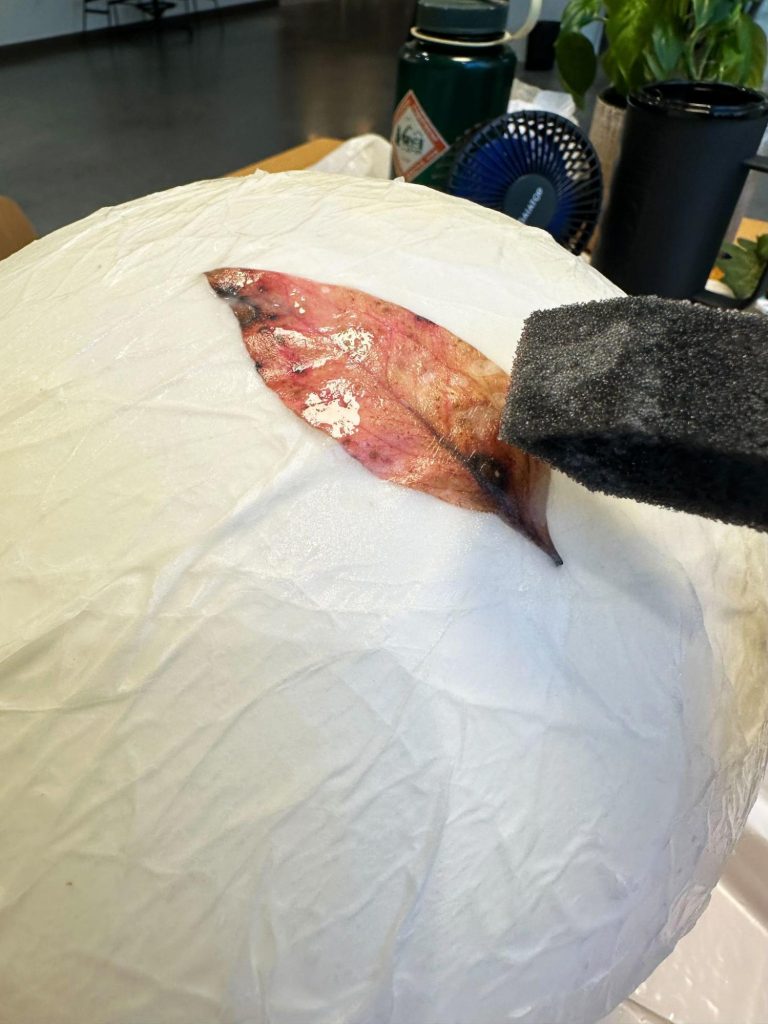
After gluing the second layer down, apply the glue combination to the again aspect of the leaves and place them on the balloon wherever you’d like. Cowl the entire balloon with two extra layers of tissue paper.
Step 7:
Permit it to dry for 10-12 hours, turning it the other way up midway by the drying time.
Step 8:
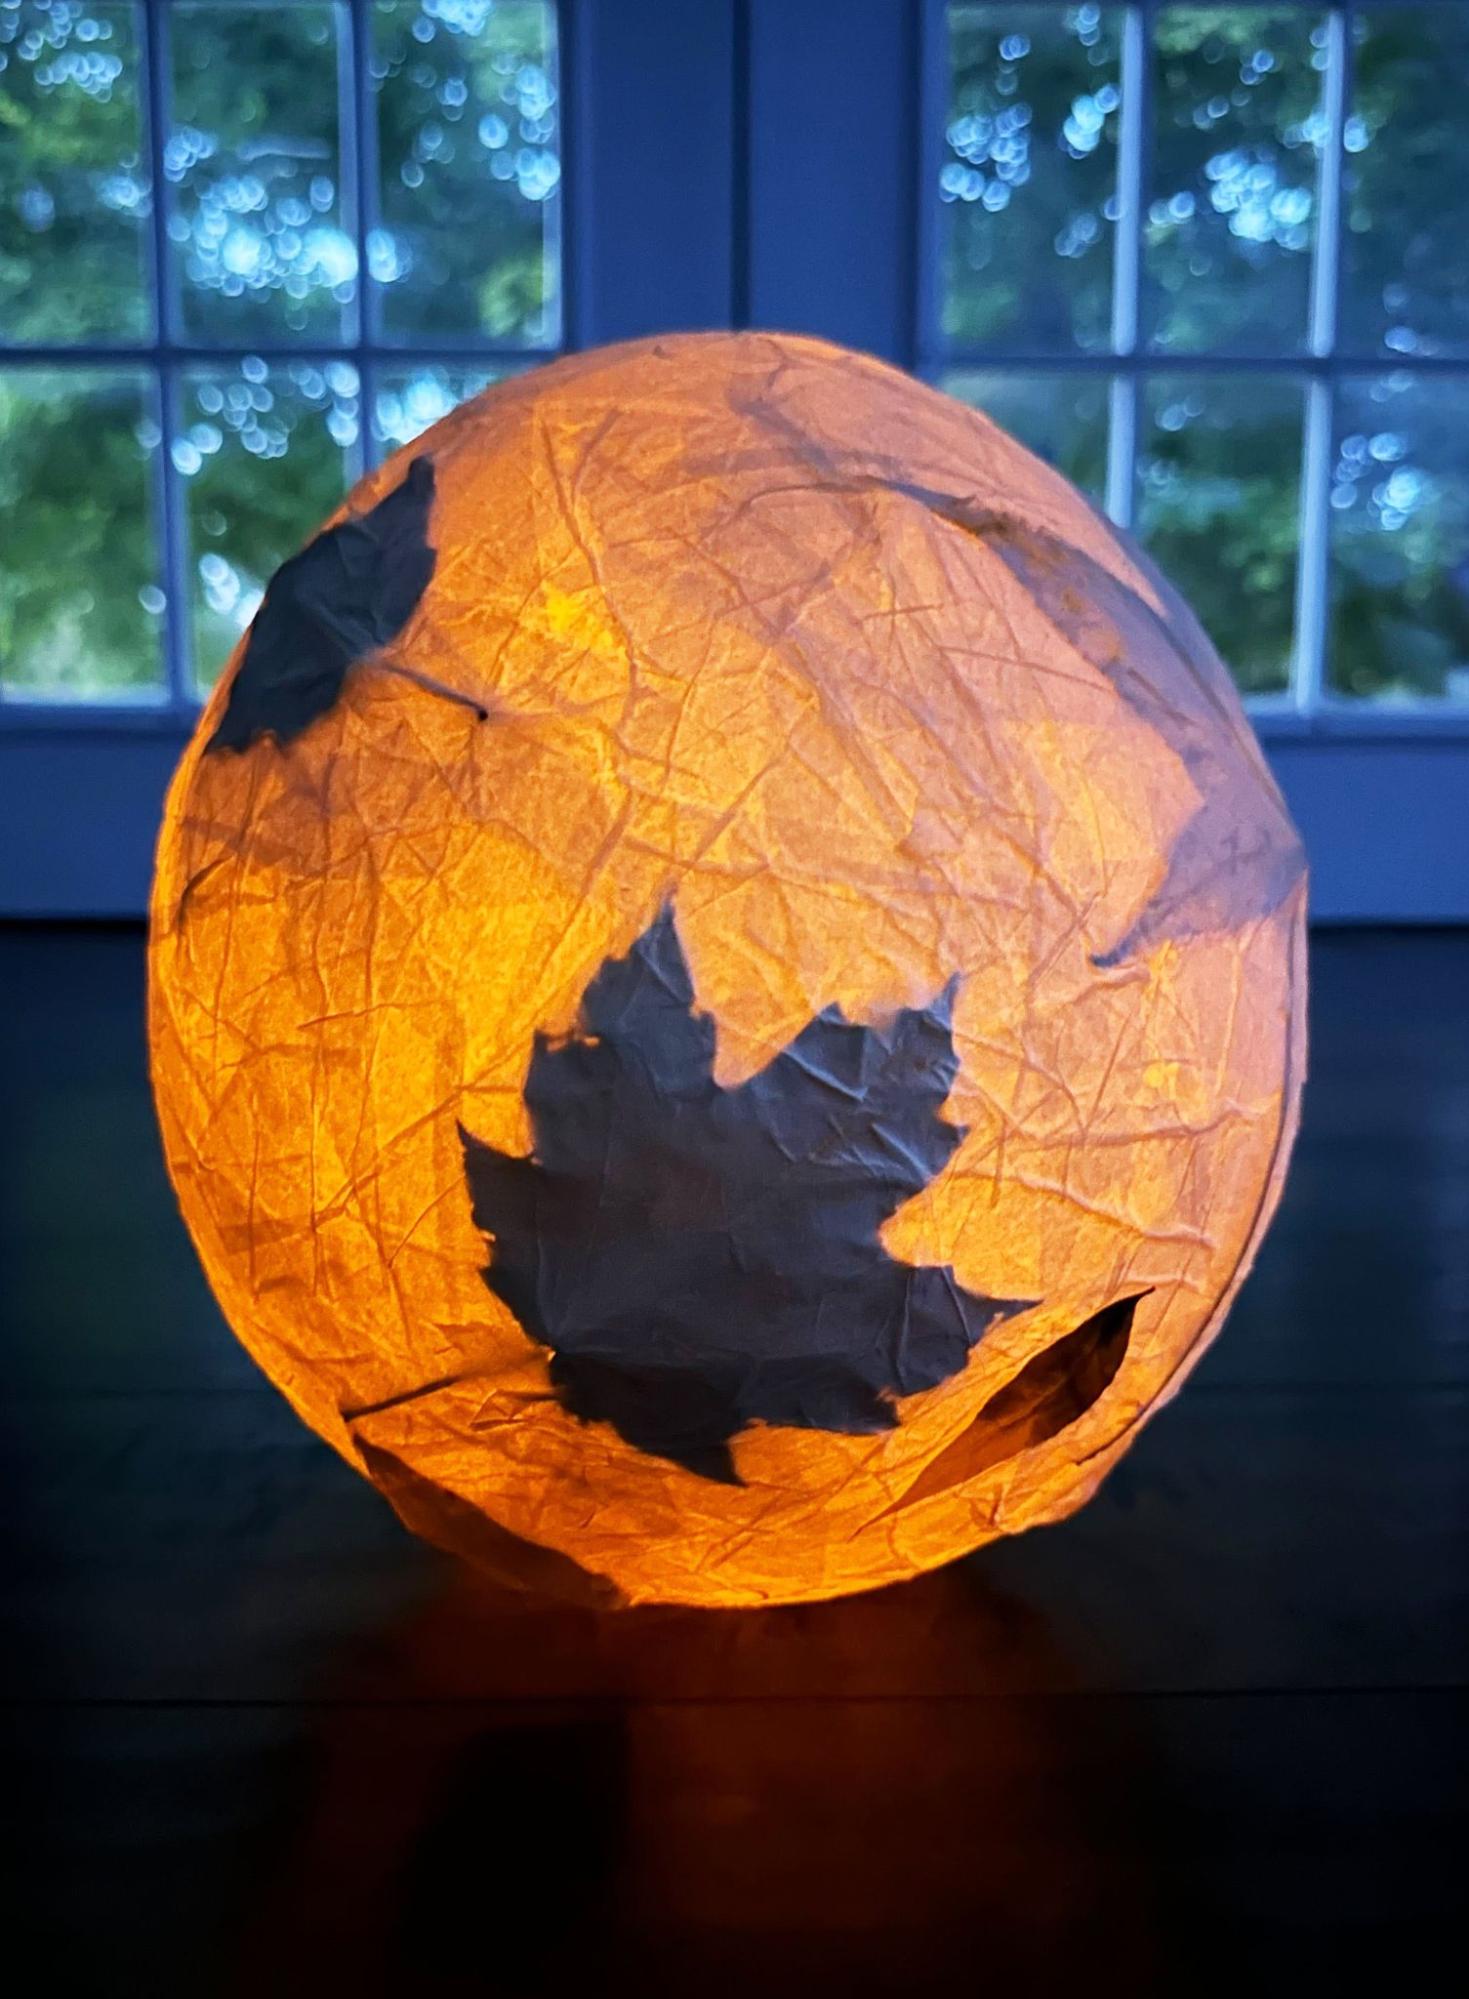
Lastly, pop the balloon utilizing a pointy knife. Flip your lantern in order that the highest is now the underside, and place a flameless tea mild inside to light up it. Wish to dangle it up? Simply punch two holes within the prime of the lantern and tie string to it!
And there you will have it—your stunning leaf lantern is able to shine! When the solar goes down, take it exterior and watch it glow. This craft is an ideal strategy to have fun the autumn season and revel in a enjoyable and artistic craft along with your baby!